© Adobe Stock Image
Just like grooming your cat, a weekly inspection of their ears is a must, and if necessary, a cleaning. Some of the most common ear problems in cats include:
- Fungal infections on ear tips
- Yeast infections
- Bacterial infections
- Ear mites
- Allergies
As with everything, there is a right way and a wrong way to inspect and clean your cat's ears. A regular routine is the key and if you inspect (and clean, if necessary) your cat's ears on a weekly basis from the time the cat is a kitten, it will become a part of its life like brushing and the cat will not fight you on ear cleaning.
A few tips to make ear inspection and cleaning easier on you and your cat:
- As mentioned above, make it a regular routine. Do it weekly from the time the cat is young.
- Positive experience – during and after the inspection and cleaning of the ear's give your cat a treat.
- Happy cat – if your cat is not in a good mood, do not fuss with their ears. Only inspect and clean the ears if your cat is in a good mood.
- Sometimes, you may need an assistant to hold the cat while you clean the ears especially if your cat is new to the "weekly routine".
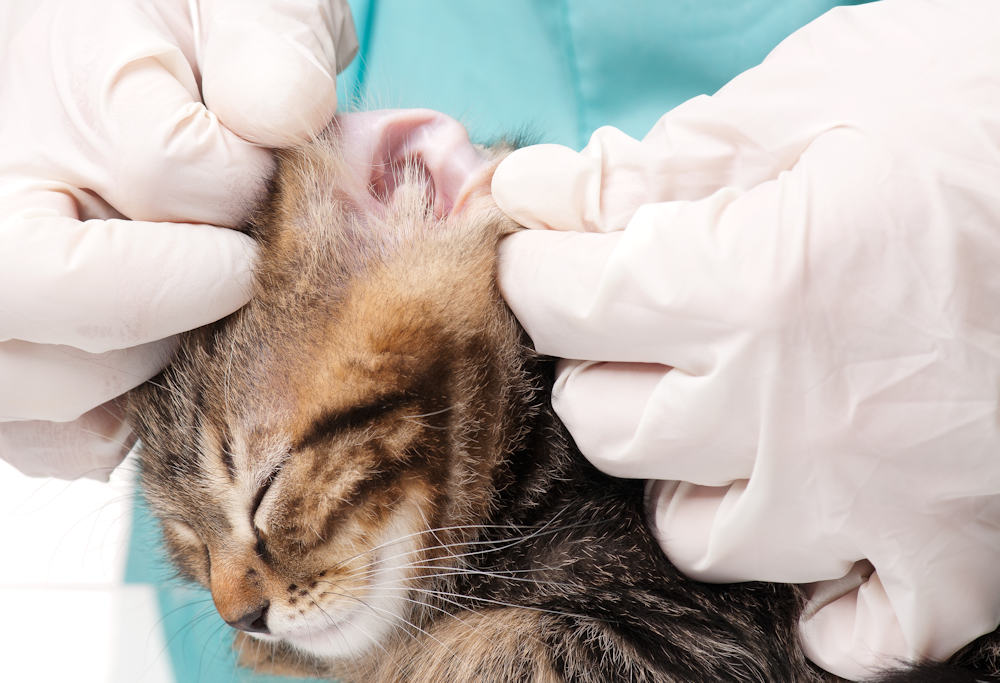
- Hold the tip of the ear between your thumb and forefinger and gently roll it up so you can see the inner part of the ear. If your cat tries to escape, you can use your remaining three fingers to GENTLY grip the loose skin on the back of its neck (scruff).
- Examine the ear for redness or discharge. Light brown wax is okay, but black, red or infected-looking discharge (i.e., yellow or green pus) indicate a problem that requires veterinarian treatment.
- To clean the ear: I use a makeup pad and an ear cleaning solution (found at pet stores or on-line pet suppliers). Gently squirt some of the ear cleaning solution into the ear, rub the ear at the base for 15-20 seconds to get the solution down into the ear to start breaking down any debris. Then using the makeup pad, wipe out the debris. If necessary, you can use a Q-Tip to get within the folds, but do NOT put the Q-Tip into the ear canal. If there is a large amount of debris, you may have to use more ear cleaning solution and then wipe it out with the makeup pad.
- If you see signs of infection or the ear is sore, please have your veterinarian examine your cat. Ear mites are one of the most common causes of ear infections in young cats and easily treated with a medication that your veterinarian will prescribe.
Signs of Infection
- Scratching and pawing at the ear area
- Shaking of the head and/or head tilting
- Loss of balance and disorientation
- Sensitivity to touch
- Redness or swelling
- Unpleasant odor
- Black or yellowish discharge
- Dark brown wax
- Bleeding
Common Ear Disorders
Ear Mites

Ear Mites © Adobe Stock Image
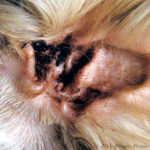
Ear mites are common parasites that are highly contagious among pets. Ear mites resemble coffee grounds.
A picture of what ear mites look like in a cat's ear. (on the right)
Ear Infections

Yeast Infection © Adobe Stock Image
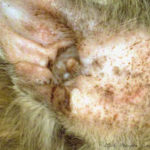
Usually caused by bacteria, yeast or foreign debris caught in the ear canal. Veterinarian treatment should be immediately sought.
A picture of what a yeast infection looks like (at the left).
Treatment
Ear Mites
Common medications are:
Nolvamite, Mitaclear, Tresaderm, Revolution, Mita-Clear, Eradimite Ear Mite Treatment, and Otomite (www.lambervetsupply.com) are the most commonly prescribed treatment for ear mites.
 Make sure you clean the cat's ears first before putting in the medication.
We use the PinkPawPal Skin and Ear Cleanser for prevention and treatment of Ear Mites.
Yeast Infections
Foreign Bodies
This is more common in outdoor cats as they can pick up foxtails or burrs from weeds. A foreign body has to be removed or it will become infected. Contact your veterinarian to remove any foreign body in your cat's ear.
WARNING:
Ear infections are not to be messed around with, please immediately consult your veterinarian to make sure your cat is properly diagnosed and then the proper medication for that problem is prescribed. Not going to the veterinarian may cause permanent damage to your cat's hearing.
